How to Cut Expansion Joints in Concrete (2026 Guide)

Cutting control joints (commonly called expansion joints) in concrete is one of the most critical steps in flatwork placement. Miss the timing window or get the spacing wrong, and the slab will crack randomly — ruining the finish and potentially the structural integrity. This guide covers everything you need to know about how to cut expansion joints in concrete, from terminology to timing, spacing rules, depth requirements, and the best blades for the job.
Control Joints vs. Expansion Joints vs. Isolation Joints
These three terms describe different types of concrete joints, and they’re frequently confused. Control joints (contraction joints) are deliberately cut lines that create a weakened plane where the slab will crack in a controlled, straight line as it shrinks during curing. Expansion joints are pre-placed gaps filled with compressible material that allow the slab to expand and contract with temperature changes. Isolation joints separate the slab from fixed structures like columns, walls, or manholes. When contractors say “cutting expansion joints,” they almost always mean cutting control joints — and that’s what this guide covers.
Why Joints Matter (Crack Prevention 101)
Concrete shrinks as it cures — typically about 1/16″ per 10 feet in the first few weeks. This shrinkage creates tensile stress that exceeds concrete’s relatively low tensile strength, causing cracks. Control joints work by creating a deliberate weak point where the slab will crack in a straight, controlled line instead of randomly. Without properly placed control joints, a 20’x20’ slab will almost certainly develop random cracks within the first weeks after placement.
When to Cut Expansion Joints — The Timing Window
Early-Entry Cutting (4–12 Hours)
Early-entry saws (like the Husqvarna Soff-Cut system) allow cutting as early as 4 hours after finishing. These lightweight saws use small-diameter blades to create shallow joints (1″ to 1.25″ deep) that control cracking before it starts. Early-entry cutting is becoming the industry standard for commercial flatwork.
Conventional Wet Cutting (12–24 Hours)
Conventional wet cutting with a walk-behind saw or handheld cut-off saw is done 12-24 hours after placement. The concrete needs enough strength to support the saw weight and resist edge raveling. This remains the standard for residential flatwork and small commercial jobs.
Signs You’ve Waited Too Long
If you see random hairline cracks forming on the slab surface before you’ve cut joints, you’ve likely missed the window. Other signs: the concrete surface is completely white (fully dried), ambient temperature has dropped and risen since placement, or more than 24 hours have passed in hot, dry conditions. At this point, cut joints immediately in areas that haven’t cracked yet, and document the existing cracks.
Joint Spacing Rules
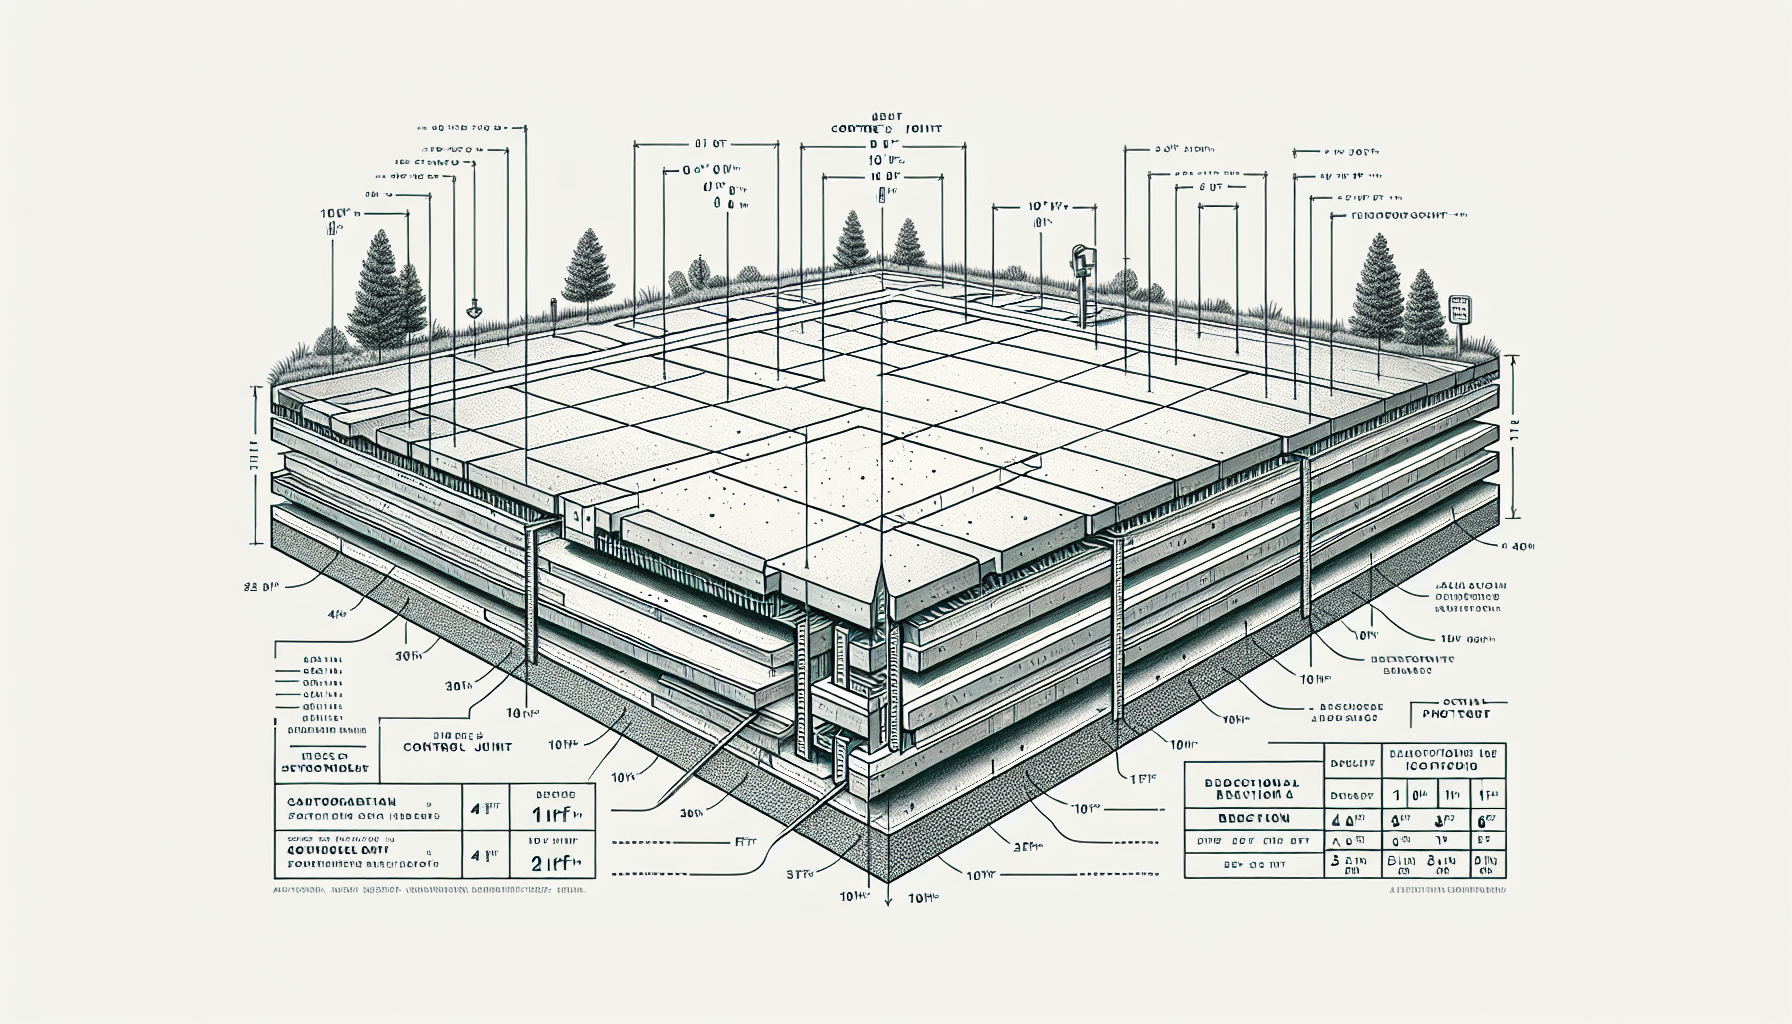
The American Concrete Institute (ACI 360R) provides the standard: joint spacing in feet should not exceed 2 to 3 times the slab thickness in inches. For a 4-inch slab, that means joints every 8 to 12 feet. For a 6-inch slab, joints every 12 to 18 feet.
Panel shape matters too. Keep length-to-width ratios below 1.5:1. A 10’x10’ panel is ideal. A 10’x20’ panel invites mid-panel cracking.
Pro Tip: Mark your joint layout with chalk lines before the pour whenever possible. Pre-marking takes 15 minutes and saves an hour of measuring on the finished slab.
Depth of Cut — How Deep Is Deep Enough?
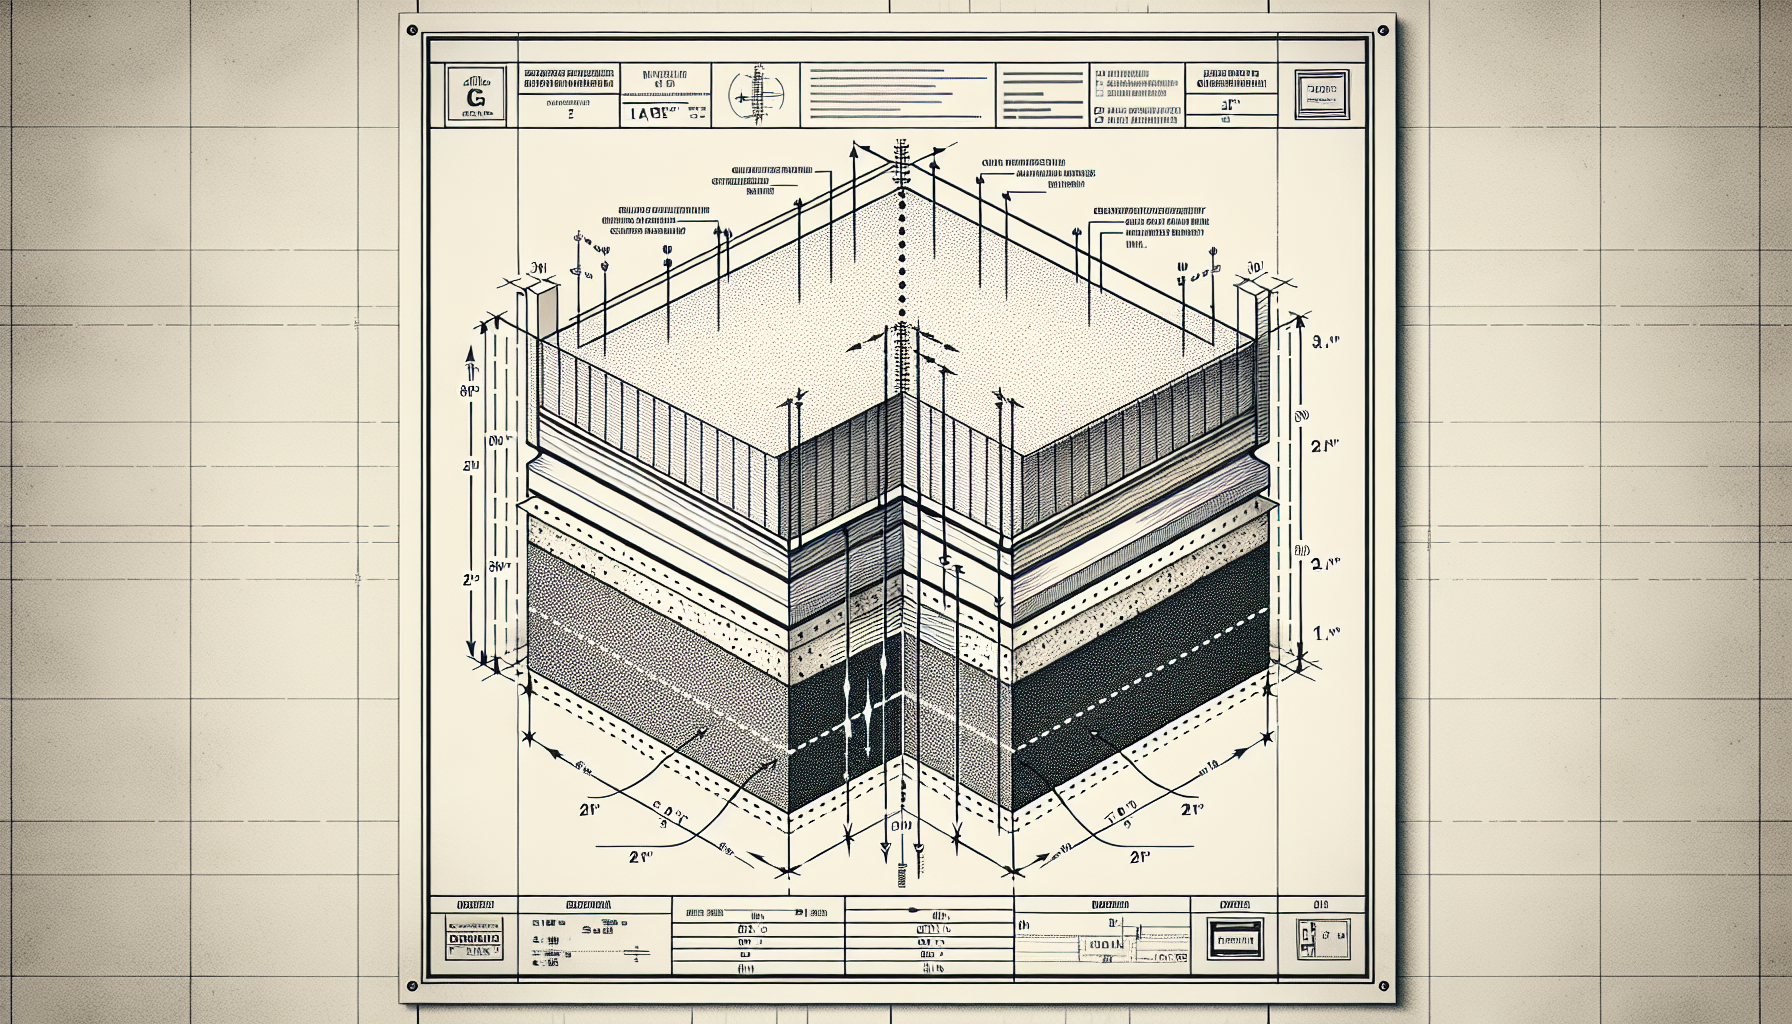
The critical rule: 1/4 of the slab thickness minimum, 1/3 best practice. For a 4-inch slab, that’s 1 inch minimum (1.33 inches ideal). For a 6-inch slab, 1.5 inches minimum (2 inches ideal). Cuts shallower than 1/4 of slab depth may not create a sufficient weakened plane to control cracking. Early-entry joints can be shallower (typically 1″ to 1.25″) because they’re cut before significant shrinkage stress develops.
Step-by-Step: How to Cut Expansion Joints in Concrete
1. Layout & Chalk Lines
Mark your joint layout before cutting. Snap chalk lines at planned joint locations, verifying spacing, squareness, and alignment with columns, edges, and existing construction.
2. Saw Setup
Walk-behind saws are standard for long, straight joints. Set blade depth to 1/4 to 1/3 of slab thickness. Ensure adequate water flow (wet cutting) or connect a vacuum attachment (dry cutting). For shorter cuts and tight spaces, a handheld cut-off saw works but requires more operator skill. See our Concrete Saw Buying Guide for equipment selection.
3. Making the Cut
Start the saw and allow the blade to reach full speed before engaging the concrete. Lower the blade slowly and maintain a steady walking pace. Don’t force the saw — let the blade cut at its own speed. For intersections, overshoot the cross joint by 1-2 inches to ensure full intersection.
4. Post-Cut Cleanup & Sealing
Blow or wash debris from the joints. Allow 28 days minimum curing before sealing. Use a flexible polyurethane or silicone-based joint sealant for exterior work. For interior warehouse/commercial floors, use semi-rigid epoxy or polyurea joint fillers that support wheeled traffic.
Best Blades for Cutting Expansion Joints
Virginia Abrasives 14″ DuroGrid — Excellent for joint cutting operations. Consistent performance through long runs.
Virginia Abrasives 14″ Ultra Value — Reliable joint cutting at a lower price point. Strong value for contractors who cut joints as part of broader concrete work.
For more blade options, see Best Diamond Blades for Concrete and our complete Diamond Blade Buying Guide.
Common Mistakes When Cutting Expansion Joints
Cutting too shallow: Joints must be 1/4 of slab depth minimum. Shallower joints don’t create enough of a weakened plane.
Cutting too late: Beyond 24 hours in warm weather, random cracks may already have initiated beneath the surface.
Joints that don’t connect: Every joint should terminate at another joint or at the slab edge. Dead-end joints cause 45° cracks from the termination point.
Skipping re-entrant corners: Any inside corner needs a joint radiating at 45°. Re-entrant corners crack 100% of the time without a joint.
Dealing with Rebar and Wire Mesh
Standard 1-inch deep joints on a 4-inch slab won’t contact mid-slab wire mesh. But deeper joints or high-placed mesh means the blade will hit steel. Diamond blades can cut wire mesh, but it accelerates segment wear. Use a segmented blade (not continuous rim) — the gullets clear metal debris.
Rebar is a bigger problem. A single rebar hit can cost $5-10 in blade wear. If your joint layout intersects known rebar, adjust depth to stay above the steel or use a blade rated for reinforced concrete.
Pro Tip: A $50 rebar locator can scan the slab and show exactly where steel sits relative to the surface. Takes 5 minutes to scan a joint line, can save an entire blade.
Joint Sealant Selection
For exterior joints (driveways, sidewalks, patios): self-leveling polyurethane sealant. Silicone peels out within 1-2 years. Polyurethane stays flexible and handles freeze-thaw cycles.
For interior floors (warehouses, garages, commercial): semi-rigid epoxy or polyurea joint fillers. Forklift wheels destroy flexible sealants, causing joint edge spalling.
Wait at least 28 days after pouring before sealing — the concrete needs to finish initial curing and shrinkage. For more on dust control during cutting, see our Silica Dust Safety Guide.
Frequently Asked Questions
When should I cut expansion joints in concrete? ▼
Cut control joints within 6-18 hours of the pour, depending on temperature and mix design. In hot weather, joints may need cutting within 4 hours. Waiting too long risks uncontrolled cracking.
How deep should expansion joints be? ▼
Control joints should be cut to a depth of at least 1/4 the slab thickness. For a 4-inch slab, cut at least 1 inch deep. For a 6-inch slab, at least 1.5 inches.
What spacing should I use for control joints? ▼
A common rule of thumb is joint spacing in feet should not exceed 2-3 times the slab thickness in inches. For a 4-inch slab, space joints 8-12 feet apart.
Related Guides
- Best Diamond Blades for Green Concrete— Best diamond blades for cutting green (fresh) concrete. Soft-bond blades for ear…
- Concrete Saws: The Complete Buying Guide— Concrete saw buying guide — gas vs electric vs battery, handheld vs walk-behind,…
- Diamond Blades: The Complete Buying Guide— Complete diamond blade buying guide covering bond types, segment styles, sizes, …
- Silica Dust Safety for Concrete Cutting Pros— OSHA silica dust standards for concrete cutting. Table 1 compliance, dust contro…
Shop Virginia Abrasives on Amazon
Diamond blades, cut-off wheels, and grinding tools. U.S. manufactured. Free Prime shipping.
Browse Products →