Grinding a Garage Floor for Epoxy Coating: The Right Way
Matt Lipman is CEO of Capstone Holdings Corp. (NASDAQ: CAPS) and a board member of Virginia Abrasives. He discloses this relationship for full transparency in our reviews.
You’re prepping a garage floor for epoxy, polyaspartic, or polyurea coating. The single thing that determines whether the coating lasts 10 years or peels in 10 months is what you do before the coating goes down — and that’s mechanical surface prep. This guide covers grinding the floor right: tool selection, grit progression, dust control, profile testing, and the cleanup that lets the coating bond.
Why Grinding Beats Etching
Most coating failures on garage floors trace back to surface prep, not the coating itself. Acid etching (muriatic, phosphoric) opens the top layer of cement paste enough for a thin water-based epoxy to bite — and that’s all it does. It does not:
- Remove sealer (most production-home garages have a sealer or curing compound on the slab)
- Remove old paint or peeling coatings
- Remove laitance (the weak, dusty layer of fine cement that forms on the surface during float finishing)
- Create the deeper profile that 100% solids epoxy, polyaspartic, and polyurea systems require
Mechanical grinding does all four. The coating manufacturers publish surface-profile specs — typically Concrete Surface Profile (CSP) 2-3 for thin epoxy, CSP 3-4 for thicker systems. Grinding gets you there; etching does not.
Pick the Tool
| Floor size | Tool | Why |
|---|---|---|
| 100-500 sq ft (1-2 car garage) | Walk-behind single-disc 7-9” grinder OR 7” angle grinder + dust shroud | Walk-behind is easier on the back; angle grinder works the edges and corners the walk-behind can’t reach |
| 500-1,200 sq ft (3+ car or shop) | Walk-behind dual-disc 18-21” grinder | Production speed; rental $250-450/day |
| 1,200+ sq ft (commercial) | Planetary grinder (3 or 4 disc) | Different category — production speed and CSP control |
The right pairing for a typical 2-car garage:
- Walk-behind 7-9” single-disc grinder for the field — rental $150-250/day. Examples: Husqvarna PG 280, Lavina 7 Pro, EDCO SEC-NG7.
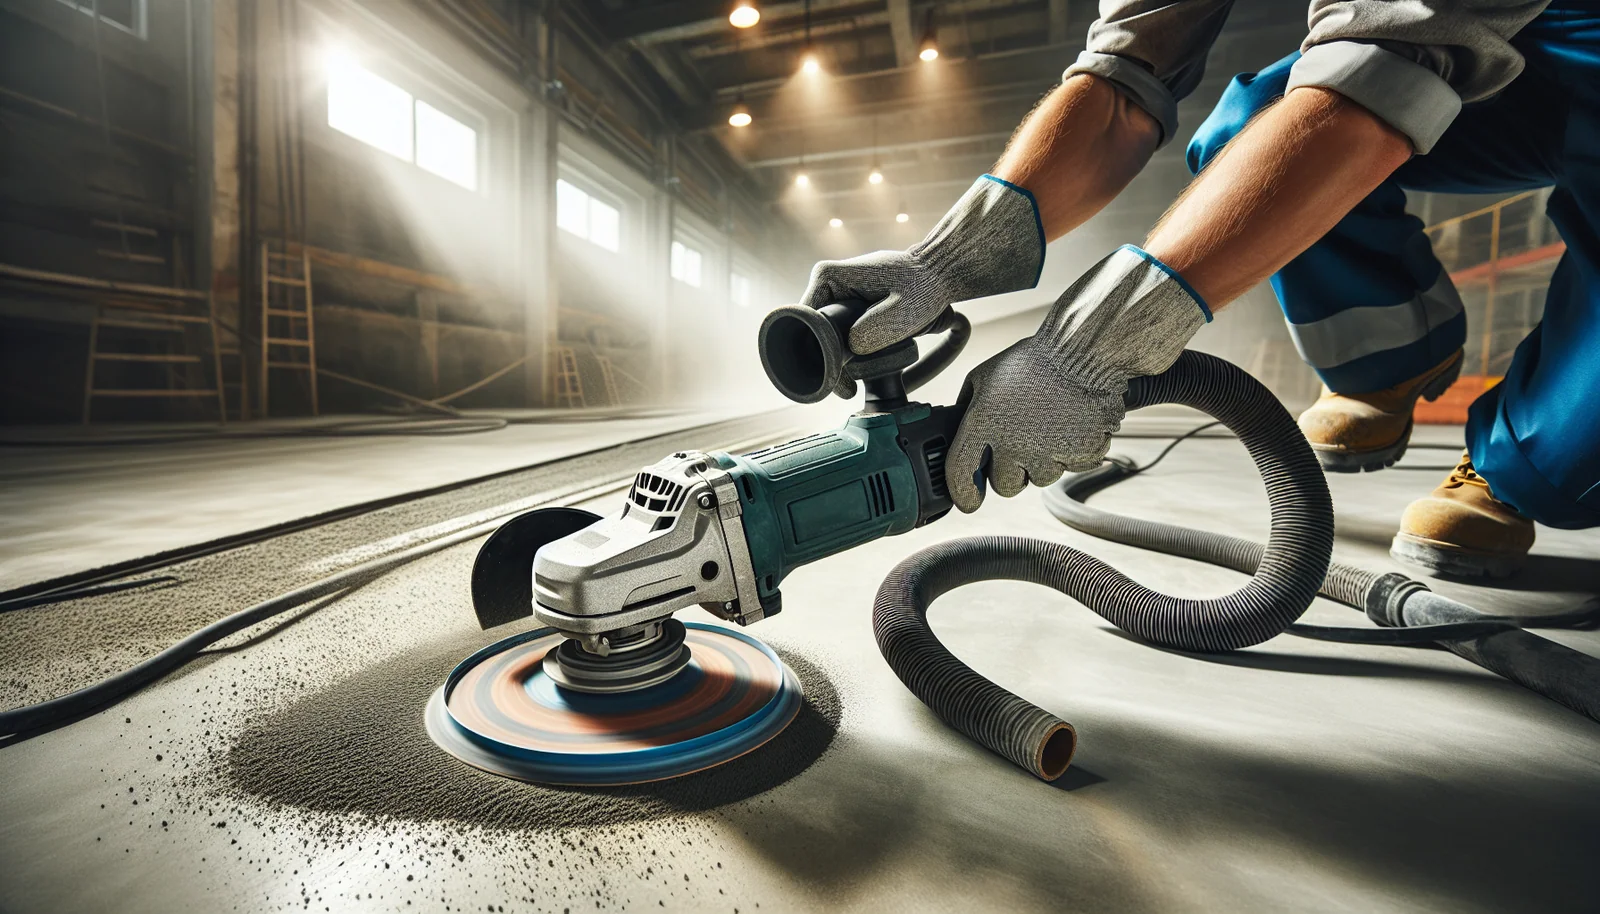
- 7” angle grinder with dust shroud for edges, corners, and around drains — buy or rent. Examples: Bosch CSG 15 or Metabo W12-150 paired with a Bosch DC1800 or Mirka shroud.
- HEPA-rated dust extractor sized to match the grinder CFM — not a shop vac. Rental $50-100/day. Examples: Pulse-Bac 1050, Ermator T7500, Husqvarna S 26.
Wrong tool calls:
- 4.5” angle grinder for the whole floor. Tiny coverage, blows back dust, burns the operator’s arm out in 30 minutes. Use it only for tight corners after the bulk grinding is done.
- Shop vac instead of a HEPA extractor. A shop vac doesn’t have the filtration for silica dust and doesn’t move enough CFM to keep the shroud sealed. You’ll spend the day breathing silica and the extractor filter will clog in 20 minutes.
- A rented “floor sander” (drum sander). Drum sanders are for wood. They will burn concrete and shred sanding belts at $25 each.
Pick the Diamond Cup or Segment
Grinding concrete uses diamond cup wheels (for angle grinders) or diamond grinding segments / metal-bond pucks (for walk-behind grinders). Both are sold by bond hardness and diamond grit size.
Grit progression for epoxy prep
| Step | Grit | Purpose |
|---|---|---|
| 1. Removal | 16-30 grit, soft bond | Strip old coating, paint, heavy sealer |
| 2. Bulk grind | 30-40 grit, medium bond | Remove laitance, level minor surface variation |
| 3. Profile | 60-80 grit, medium bond | Achieve CSP 2-3 for thin epoxy |
| 4. (Optional) Finish | 80-120 grit | If the coating manufacturer specifies CSP 1-2 (rare for garage epoxy) |
Most garage epoxy jobs go: step 2 → step 3 → coating. Skip step 1 if the slab is bare. Skip step 4 unless the manufacturer specifies a smoother profile.
Bond hardness matching
Same inversion rule as diamond blades: hard concrete needs a soft bond, soft concrete needs a hard bond. If the floor is high-strength (5,000+ PSI) or has hard aggregate (granite, trap rock), use a soft-bond cup. If the floor is older, lower PSI, or has soft aggregate (limestone), use a medium-to-hard bond. The wrong bond glazes — the cup polishes but doesn’t cut, and you’ll grind for hours with no progress.
See Grinding Cup Wheel Buying Guide for cup selection by floor condition.
The Grind Sequence
1. Clear the floor and tape off
Remove everything. Sweep. Vacuum loose debris. Tape plastic up the bottom 6-12 inches of every wall — grinding dust escapes the vacuum shroud at edges and corners. Mask the garage door tracks.
2. Patch first, then grind
Fill cracks, holes, and spalls with a polyurea or epoxy crack filler before grinding. Grinding will smooth the patches into the surrounding slab, leaving a uniform profile for the coating. Grinding first and patching after leaves the patches above the surface plane — visible through the coating.
3. Start with edges and corners
Run the angle grinder + cup wheel around the perimeter, along walls, around drains and posts. The walk-behind can’t get within ~2” of vertical surfaces. Get this done first — easier to do edges on a fresh, full floor than to thread the walk-behind around already-ground sections.
4. Run the walk-behind in overlapping passes
Pattern: parallel passes with 50% overlap, then a perpendicular pass with 50% overlap. The cross-hatch evens out the profile and removes the “tracks” a single-direction grind leaves. Walk speed matters — typical 5-10 ft/minute for bulk grind, 10-15 ft/min for the second-pass finish.
5. Step up grit
Vacuum the floor thoroughly between grits. Carrying coarse debris into a finer grit step contaminates the cup and slows the cut. Swap to the finer grit and repeat the cross-hatch pattern.
6. Profile test
Stop when the surface looks uniformly matte with no shiny spots (sealer residue), no visible patches above plane, no glossy areas (untreated laitance). For a profile spec, the International Concrete Repair Institute publishes CSP comparison chips — touch the ground floor against the CSP 2 or CSP 3 chip to verify. Most coating jobs don’t need the formal test, but if the coating manufacturer specifies CSP, run the test.
Dust Control — The Make-or-Break Step
Concrete grinding without proper dust control is the worst silica exposure operation in the trades. A single 7” angle grinder running dry without a shroud generates respirable silica dust far above the OSHA PEL of 50 μg/m³ within seconds. With proper controls — vacuum shroud, HEPA extractor, fit-tested respirator — dust at the work area is near zero.
The setup that works
- Vacuum shroud that mates to your grinder. Bosch, Metabo, Mirka, and Pulse-Bac all sell them. The shroud must match the grinder model — a 7” shroud on a 5” grinder leaks dust everywhere.
- HEPA-rated extractor with at least 150 CFM. Class H (European) or HEPA (US 99.97% at 0.3 micron). Pulse-Bac, Ermator, Husqvarna S-series, Festool CT MIDI/CT 36 are the standard picks. A normal shop vac is not adequate.
- Auto-clean filter matters. A non-self-cleaning filter clogs in 10-20 minutes of grinding and the extractor loses suction. Pulse-Bac’s reverse-pulse cleaning and Ermator’s HEPA system both handle continuous use.
- Hose diameter matters too. A 1.5” vacuum hose on a 7” grinder is undersized — use 2” minimum.
- Respirator at minimum a fit-tested N95, better is a half-face P100 (3M 6291 series). Beard breaks the seal. See Silica Dust Safety Guide for the full PPE breakdown.
What goes wrong
- Shop vac instead of HEPA extractor. Insufficient suction means the shroud doesn’t capture dust. Filter clogs in minutes. By the end of the day the operator has breathed a year’s worth of silica.
- Wet grinding indoors without slurry containment. Slurry runs across the slab to the garage door, then to the driveway, then to the curb, then to the storm drain — which is a prohibited non-stormwater discharge. Wet grinding is not the dust solution for indoor work.
- Shroud mismatched to grinder. A bad seal = visible dust escape = silica in the lungs and on the slab waiting to be ground again.
After Grinding: Prep for Coating
Grinding produces ultra-fine dust that settles on the slab and in pores. The coating won’t bond to it.
- Vacuum the floor with the HEPA extractor. Multiple passes. Then again after waiting 15 minutes — more dust settles out of the air.
- Wet-mop with clean water. Some coating systems specify a degreaser or solvent wipe — read the manufacturer’s prep spec. Let dry fully.
- Check moisture. Most epoxy and polyaspartic systems require slab moisture below 4% (calcium chloride test) or below 75-85% RH (in-situ probe test). Newer slabs (<28 days) often fail. Older slabs in humid climates can fail too. Test before coating, not after.
- Check for residual sealer. Drop water on the slab. If it beads, there’s still sealer present. Grind that spot again. Coating will not bond over residual sealer.
- Coat within the coating manufacturer’s open-window time. Most systems specify coating within 24 hours of grinding. Beyond that, the profile collects new contamination and may need a re-clean or light re-grind.
What Trips People Up
- Renting a grinder without renting the matching dust extractor. “I’ll use my shop vac” — see above. The job becomes a silica exposure event.
- Skipping the moisture test. Coating fails in 6 months because the slab is wet underneath.
- Coating over residual sealer. Visible as fisheyes or peeling spots within weeks.
- Trying to grind a too-rough floor smooth with diamond. If the floor has 1/4”+ deep imperfections, you’re either patching first or doing a self-leveling overlay — diamond grinding doesn’t level major variation, it removes a thin top layer.
- Coating over a slab with a vapor barrier failure. No coating fixes a slab with rising moisture from below. Test before you commit to the system.
- Buying cheap diamond cup wheels. A $15 cup wheel from an unknown brand will glaze in 100 sq ft. Spend $40-80 for a known-brand cup that lasts the whole floor.
Related Guides
- Grinding Cup Wheel Buying Guide — bond + grit fundamentals
- Best Grinding Cup Wheels for Concrete — cup picks
- Best PCD Grinding Cup Wheels — for stripping old coatings
- How to Grind Concrete with an Angle Grinder — edges and corners
- Silica Dust Safety Guide — dust control + PPE
Frequently Asked Questions
Why grind a garage floor before epoxy — can't I just etch with acid? ▼
Etching opens the surface enough for a thin DIY-grade water-based epoxy to bond, but it does not work for 100% solids epoxy, polyaspartic, or polyurea coatings — the systems with real garage durability. Grinding mechanically profiles the concrete (typically to a CSP 2-3 finish) and removes laitance, sealer, and prior coatings that acid won't touch. Skip the grind and the coating peels in 6-18 months. Do the grind and it holds for 10+ years.
Can I rent a floor grinder or do I need to hire it out? ▼
For a single 1-2 car garage (200-500 sq ft), renting a walk-behind grinder + dust extractor is the right call — daily rental runs $200-350 plus consumables, vs. $1,500-3,000 hired out. For 3+ car garages or commercial, the hired-pro math starts to favor itself because the grind is the slowest part of a coating job and pros run heavier equipment. DIY needs 1 weekend day of grinding for a 2-car; pros do it in 3-4 hours.
What grit do I need to grind concrete before epoxy? ▼
Start with a 30-40 grit diamond metal-bond segment to remove old coatings, sealer, and laitance. Step up to 60-80 grit for the surface profile. Most epoxy systems specify a CSP 2 (Concrete Surface Profile 2, like 40-grit sandpaper) to CSP 3 (60-grit equivalent) finish. Polyaspartic and polyurea systems want CSP 3-4. Read the coating manufacturer's spec sheet — they all publish it.
Will grinding a garage floor make a huge dust mess? ▼
Without dust control, yes — concrete grinding generates more silica dust per minute than almost any other operation in the trades. With a properly sized HEPA dust extractor connected to a vacuum shroud on the grinder, dust at the work area is near zero. The math is brutal: a 1.5HP shop vac is not enough. You need a class-H/HEPA-rated extractor with 100-150+ CFM and a vac shroud that mates to the grinder. Most rental yards rent the pair together — verify before you load up.
Related Guides
- Best Grinding Cup Wheels for Concrete— Best diamond grinding cup wheels for concrete — single-row, double-row, turbo, a…
- Best PCD Grinding Cup Wheels for Coating Removal— Best PCD grinding cup wheels for removing thick epoxy, mastic, adhesive, paint, …
- Grinding Cup Wheels: The Complete Buying Guide— Diamond grinding cup wheel buying guide: segment patterns, bond hardness, and pi…
- Grinding Concrete With an Angle Grinder— Grind concrete with a 4.5" or 7" angle grinder — diamond cup wheel selection, du…
- Silica Dust Safety for Concrete Cutting Pros— OSHA silica dust standards for concrete cutting. Table 1 compliance, dust contro…
Shop Virginia Abrasives on Amazon
Diamond blades, cut-off wheels, and grinding tools. U.S. manufactured. Free Prime shipping.
Browse Products →